There are some vegetables that can be difficult to grow in an environment with long winters and relatively short summers. The idea of starting these types of summer vegetables from seed outside is quickly dismissed when the grower knows each plant will have only ninety days to reach maturity. Once the plant is finally able to bear vegetables or fruit, the time it takes for each piece of produce to ripen also has to be accounted for. Considering the long time-frame, a frost could come by and kill the plant before a harvest can be taken.
Many gardeners start seeds indoors to protect their plants from unexpected frosts. Typically, gardeners choose to begin the germination process six weeks before the last scheduled frost for their region. Some may even choose to extend this period by a couple of weeks. Doing so allows them to put stronger plants in the ground. Many of them create their indoor, seed-starting area using these basic steps.
Step 1: Find An Appropriate Area
Spring and summer vegetable seeds require certain conditions to germinate. It’s extremely important to find a warm location. If a warm location cannot be found, a heating mat should be purchased. The temperature should not dip below 70 F. For pepper and tomato seeds, 70-85 F is optimal. Be sure that once the seeds germinate, you remove them from any type of heat source as they don’t need to be as warm then.
This area should either be artificially or naturally well-lit. The best location is a windowsill, since there is a lot of natural lighting. If there is not a well-lit area where starting trays can be placed, the gardener may have to purchase grow-lights. Very often, when the days are shorter, a high-instensity light is needed so that the seedlings get the 12-16 hours of light that is needed each day for them to thrive.
Step 2: Purchase The Right Supplies
It can be tempting to save money by creating starter pots. Theoretically, cutting a hole at the bottom of a plastic cup should be enough to create a nice home for a sprout. In reality, these home-made pots are rarely big enough to support a growing pepper or tomato plant for six weeks. The practice of creating them out of plastic is also bad for the environment.
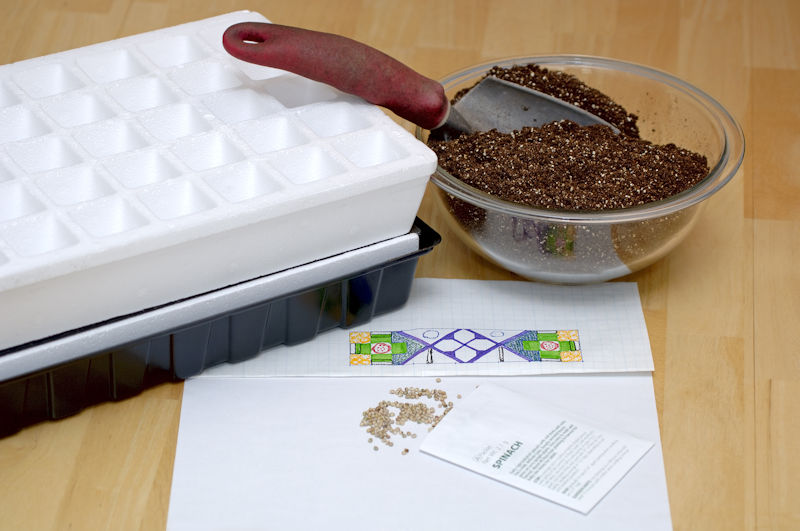
Biodegradable pots should be purchased to house seeds. For pepper, eggplant and tomato plants, these pots should be at least four by four inches. A seed-starter mix for the soil will also be needed. If you decide to mix your own, equal parts of peat, vermiculite and perlite with a quarter teaspoon of lime mixed into each gallon of the mix work great.
Step 3: Set It Up Properly
The biodegradable pot should not be filled up all the way. This will cause the soil to overflow and spill out of the pot when watering is attempted. Gardeners should leave a half-inch of space between the rim and the soil for this reason.
Without the addition of a grow light in the area, it may be difficult for a plant to emerge once it has reached germination. If the area is simply well-lit with natural lighting and not artificially lit with a grow-light, it’s important not to bury the seed more than a half-inch below the soil. Even if there is a grow light, it’s best not to place it below an inch. More soil can be added later if the plant is in need of support.
Step 4: Take Care Of The Germinating Seeds And Sprouts
A seed cannot reach germination if it has dried out. The soil must remain moist at all times for this reason. How often you need to water will depend on the humidity of where the seedlings are being grown. Check daily and make sure that you don’t over water. Watering from the bottom and allowing the plants to get the water from the holes in the pots can help to prevent over watering. Once the roots have started to come out of the hole at the bottom, it is time to transplant the plant. Not doing so could stunt its growth.
Be sure to start getting your newly grown plants adjusted to the outside by moving them outside for a few hours each day when the weather permits about a week prior to planting. Keep them in a shaded and protected area when you move them. On the last day of the week, try leaving them out all night and then, the next day, plant them in your garden.
Be sure to check out when to start crops for your region. It’s always best to take notes so that you can look back on what you’ve done to help you in the following years to expand your garden and your knowledge.
About the Author
Jonathan Leger is a member of the Garden Writer’s Association and a gardening enthusiast. He runs a site dedicated to the history, education and care of knockout roses. Jonathan also shared an article explaining How To Grow Your Herbs Indoors During Winter.


