


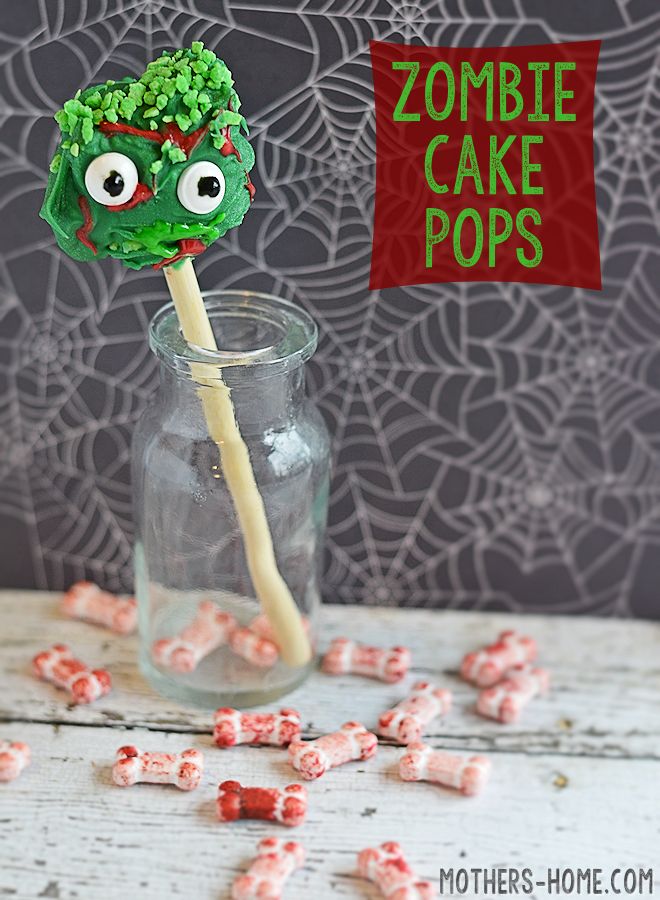
At first glance, you may think these zombie cake pops look too gross to eat, but once you have a taste, you will want to have more than one!
As I mentioned last year when I posted my Eye of Newt Treats, I enjoy trying to come up with gross looking Halloween treats every year for some of my special trick-or-treaters… I think these zombie cake pops will fit the bill this year, don’t you?
You don’t have to limit these treats to Halloween time, they would be great to make and serve at a Walking Dead viewing party, or how about hosting zombie movie-a-thon? If you know someone who is a zombie fan, they will love you if you bring them a dozen of these cake pops… (scroll below ads for recipe)
How to Make Zombie Cake Pops
Start off by gathering together everything you need to make these sweet treats and then get to it. Give yourself plenty of time because it is best to let the cake balls set overnight before you dip them in the chocolate!
Needed for the Cake Pops
- 1 box of vanilla cake mix (Can also opp for a green cake mix)
- 1 small box of vanilla pudding mix
- Eggs
- Milk
- Vegetable oil
- 1 tub of frosting
- 24 lollipop sticks or straws
Needed for the Zombies
- 2 bags of green melting chocolate
(affiliate
- Green jimmies/sprinkles
(affiliate link)
- 48 candy eyeballs
(affiliate link)
- 1 or 2 small tube of green gel icing
- 2 small tubes of red gel icing
The first thing you need to do is bake your cake. You will want to follow the directions on the cake mix box, for the most part… The cake mix box will probably tell you to use eggs, oil, and water. Instead of water, use milk.
I usually start out by putting the oil, eggs, and milk into a bowl and mix them well. Pour the dry cake mix into a bowl and then pour in the box of powdered vanilla pudding. Mix as directed on the box, this is usually for 2 minutes.
Bake your cake as directed on the box. Once it is done, remove it from the oven and let it cool on a rack.
 When it is cool, move it to a cookie sheet and use a sharp knife to carefully trim off any of the sides or corners that are hard. They do not mix well and it s just easier to cut them off. Crumble the rest of the cake into a bowl. Get the crumbs are fine as you can. I usually use my food processor!
Start out by mixing in no more than half of the tub of frosting, blending it well. You will want it to be thick, like clay. Use more or less frosting if necessary.
Once it is well blended, roll the cake mixture into balls that are about an inch and a half across. Place them on a cookie sheet lined with parchment paper. You should get around 24 balls from the cake mixture, but this number can vary. Place them in the fridge overnight.
While you are waiting for your cake pops to firm up, you will want to make a stand to hold them while the dry. You will also probably want to use it to serve the zombie cake pops. You can use mason jars to hold them or punch tiny holes in a shoe box. You might have the weigh down the bottom of the box. You should also decorate it. You can also use a piece of styrofoam. Check out this one decorated to look like a graveyard!
Start out by melting one package of green chocolate as directed on the package. Use a tall, narrower bowl if you have one. You will want the melted chocolate to be deep enough to dip a cake ball into. We will be adding the second bag to this as we need it. When I work with candy melts, I always buy at least one more bag than the recipe calls for because I would rather make sure I have enough than to run short.
Take about 5 cake balls out of the fridge at a time. Dip a stick into the chocolate and then carefully push it into a cake pop. Do all five and then put the back in the fridge so they stay cold. Continue this until all of the cake pops have sticks.
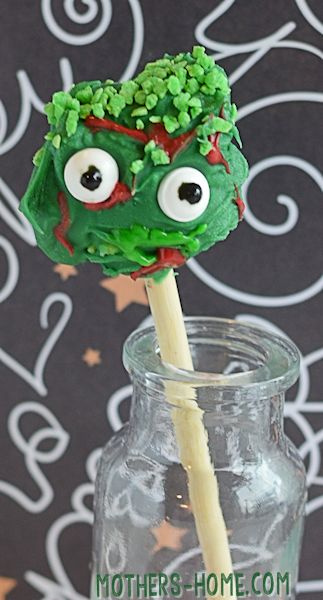
Pour the green sprinkles into a shallow bowl and open the package of candy eyes and keep them nearby. You can now start dipping your cake balls in the chocolate to coat. The chocolate does not have to be smooth, it is a zombie after all! Once you have your cake ball coated with the green chocolate, dip the top into the green sprinkles so they look like hair. Quickly put the candy eyes in place. Don’t worry about making them even and neat. You get a better zombie look if they are off kilter a little bit!
Repeat this for all of your cake balls and let the chocolate firm up. If you have leftover green chocolate, you can let it harden and then put it in an air-tight container or zip-top freezer bag and put it in the cupboard until you need it again.
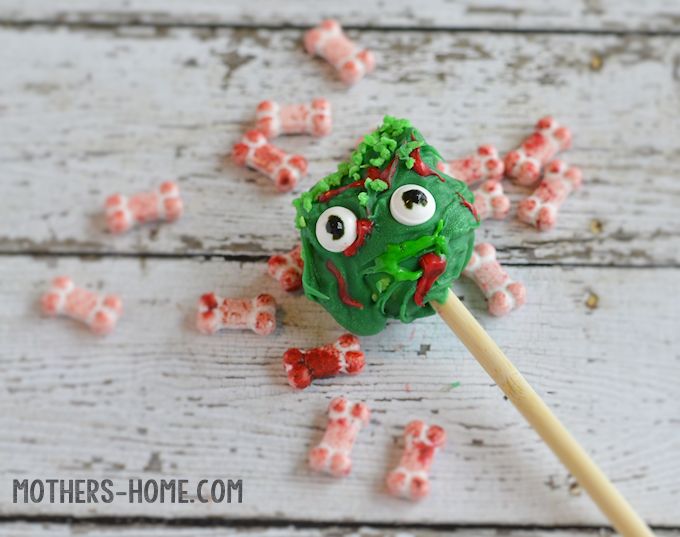
Now comes the fun part! Use the green gel icing to make a mouth on the zombies. You can also draw on scars and other small details. You can then use some red gel icing to add blood to your zombies’ faces. Keep the completed zombies in the cake ball stand so the gel icing doesn’t smear. Store them in the fridge until you are ready to serve them.
What do you think of these zombies? Actually, the more I look at them, the cute I think they are.
Disclosure: As noted above, this post contains affiliate links. See my disclosure policy for details.
Haha.. You had me at, “The Walking Dead”! I love love that show and these are such fun treats!